How to Home Roast Your Own Coffee
“Mommy, meat comes from plastic packages, right?”
Someone told me the story of overhearing a child’s understanding of where meat comes from – which was similar to all other things he knew – that food comes from plastic packages in stores.
And while this might be true, it’s not the whole story – or even the best part of the story. This is especially true for coffee too!
It’s certainly easy to forget about the links that make up the food (and beverage) chain and how they all make it possible for us to enjoy the things we love.
Fortunately, the slow food movement has certainly had an effect on changing this to all of our benefit.
But what about coffee?
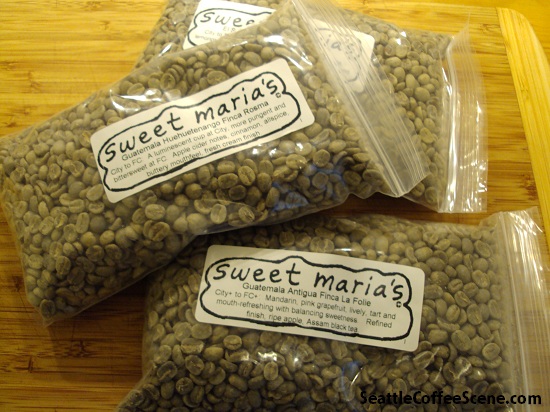
Green Coffee Beans are affordable and be bought by the pound.
Here in Seattle, we’re lucky to be surrounded by the best bunch of coffee roasters in the world, so we’re a bit spoiled. Consequently, we often don’t spend much time thinking about where coffee comes from or how it’s made.
Yet to fully appreciate our warm beverage, I’m convinced that we should all take a crack at roasting our own beans – at least once.
Why roast your own coffee beans?
If you love coffee, you might have considered the art and craftsmanship behind roasting coffee or even serving coffee for that matter. To experience the love and skill that goes into your cup, roasting just might be the ticket to fully explore, experiment, and enjoy great coffee.

So, where do we begin?
To roast coffee at home, you don’t need too many tools, especially if you’re only planning on doing this once or twice a year.
Things you need:
- You need green beans (Which you can get at Sweet Maria’s, Conduit Coffee, Espresso Vivace, or Amazon: serving coffee
- A stovetop pan (Medium to Large)
- One wooden Spoon
- Stove
- *Thermometer – if you have one.
*Roasting coffee can be a smoky adventure, so make sure you have your windows open and your stove fan on – if possible. The more you roast at a time, the smokier your kitchen will become.
You can also get a stove top nut roaster for your coffee beans.
However, the regular pan works just fine.
Let’s Get Started!
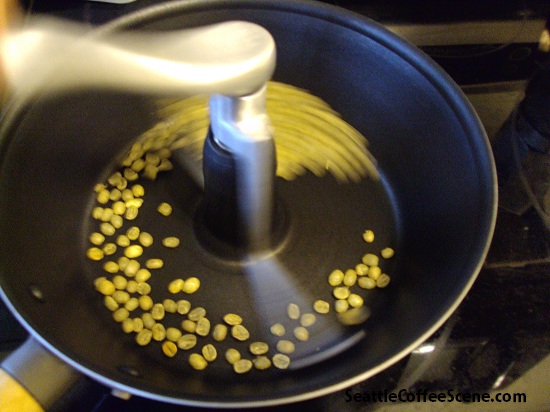
Place the pan on the stove and turn on the heat to a medium level (probably about 65-75%) on your regular stove top.
I like to start off with about ¾ of a cup of beans in a regular 13 inch pan. This will give each green bean space on the pan.
Always stir your beans until they turn yellow to brown (This is called carmelization). The whole process can take about 9-13 minutes.
I recently, asked Jesse, a Seattle coffee roaster (and owner of Conduit Coffee) on home roasting for more specifics:
1. What setting (electric 1.0 – 10.0) and (high and low flame) should a beginner use to roast their first batch of coffee?
The heat setting greatly depends on the size of the pan and the amount of coffee you want to roast. Choose a solid pan, and fill it with enough coffee to cover the bottom. Not much more, otherwise it’s difficult to get a consistent roast.
You want the pan to be hot when you put the coffee onto it so the roasting process starts right away, not baking the coffee as it heats up.
The pan should be at least 300 degrees on the surface and it will cool off a bit when the coffee hits the pan, the lowest point being the beginning of the roast curve. You’ll know it’s too hot if the beans get scorched. Keep them moving the entire time!
Seeing the roast in a pan is a great way to learn about the roasting process and visualize it.
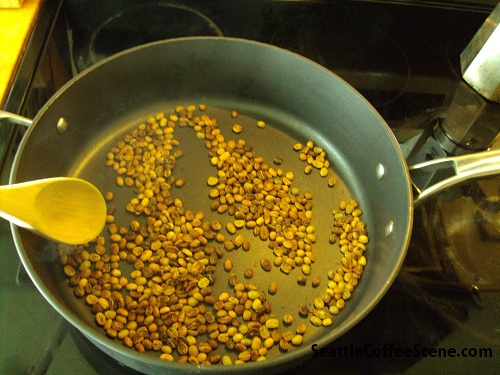
Here, the yellow coffee beans are beginning to brown.
2. During the process of roasting over the stove what should you first look for? (i.e. Smell and look of the bean).
The beans will begin to turn yellow before you really notice a difference, then suddenly it’s there. The beans will warm up and begin changing colors, from green to yellow, to cinnamon before first crack. As the roast progresses, there will be more smells like well-cooked popcorn.
You’ll notice the chaff starts to separate from the beans as they turn yellow. This stage culminates in first crack, the notorious applause of roasting coffee. The beans are expelling their moisture and popping the cell walls, like popcorn.
One must roast past first crack in order to make consumable coffee (or grindable for that matter). The rest is up to the roaster and the desired roast one’s seeking. When the beans get hotter, they enter an exothermic reaction called second crack.
This is the delineating line between a medium and dark roast. The beans will create heat of their own as the natural acids and oils break down into new compounds – and they smoke a lot.
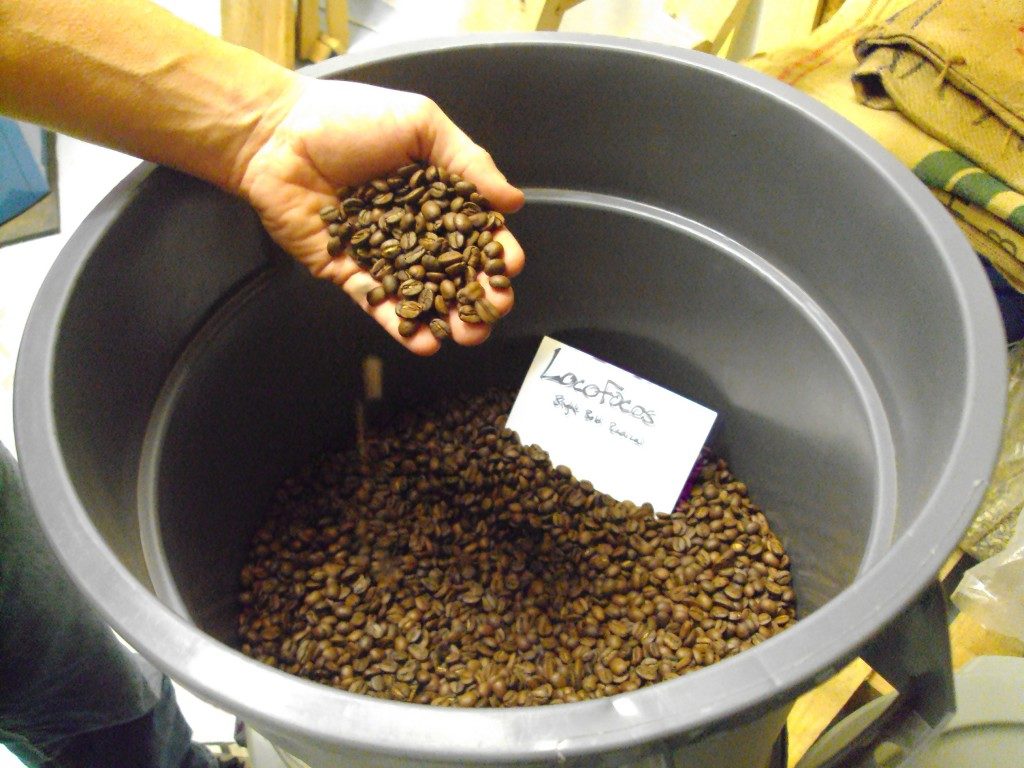
Jesse shows one of Conduit Coffee’s blends.
3. Once the bean starts to yellow, and brown, what do you recommend doing? When would it be okay to “stop” and remove the beans from heat?
There’s quite a bit of finesse in finding a nice roasting curve, especially in home roasting. There are so many variables and the smaller the roaster the more they impact the roast (type of coffee, bean temperature, air temp, volume vs. weight, etc.).
It’s important to let the beans have enough time in the yellowing to cinnamon stage that the heat gets into the entire bean and works its magic.
For some beans this matters more than others, for all sorts of reasons. I like to ramp up the heat before 1st crack then cut it out shortly after, particularly for a lighter roast.
You never want to let the bean temperature stall or cool off in the middle of roast, always increasing, just at different rates.
As stated before, the beans must pass 1st crack to be consumable. After that, remove them when you want. Some coffees like a little more development in the sugars during the carmelization stage, at the end of 1st crack, while other beans like to stay light and complex.
This is wholly dependent on the roaster’s preferences and the type of coffee being used. There are as many roast styles as there are coffees in the world.
4. Any precautions?
Coffee roasting is hot, smoky, and dusty. ALWAYS make sure you have ventilation, disconnect your smoke alarms, turn on the oven fan, perhaps even wear a mask if you’re sensitive to smoke. The chaff will blow off the coffee, and all over your kitchen. It’s best to vacuum it rather than sweep in many ways.
MAKE SURE to get the beans to a nice place to cool quickly after the roast. Get them out of the pan immediately, and into something that allows air flow. A strainer is good, but I learned to use and inverted box fan with screen on one side that pulls air down and through the cooling beans. This may have been a bit of overkill, but it worked well. I still use this technique when I am profiling coffee in the Studio.
Jesse’s last coffee roasting notes:
“Coffee roasting is deeply educational. You pick beans from an exotic terroir, these beautiful little green seeds, that were grown with dedication and care, to be roasted and enjoyed in a communal way. Every bean, every farm, every variety, every roast, every cup is a different experience from which we can learn,” Jesse stated.
“Connecting the dots that lead to a perfect cup (or not so perfect) is an astounding lesson in agronomy, physics, chemistry, and sociology. It’s impossible to not share great coffee. Roasting builds bridges between agricultural communities and the food we consume – these are deep human connections, ones we have cultivated to bring us together and share the fruits of this planet.
It’s a slippery slope however. Once you’ve tasted amazing coffee, there’s no turning back. Once you’ve roasted amazing coffee that compares to the best out there, you’re hooked. Always searching for new flavors, always learning, always sharing. Coffee is so much more than a caffeine boost or warm beverage – it’s one of the few commodities that binds us as cultures, and it has for centuries.”
Conduit Coffee is nestled on the edge of Queen Anne overlooking Lake Union. Among the newest coffee roasters on the Seattle coffee scene, they were ranked among the best in Seattle’s Espresso competition at Coffee Fest 2012. Visit their website and shop for great coffee!
Additionally, here is a good informative video from Sweet Maria’s. Check this out before you start roasting at home:
")

")

